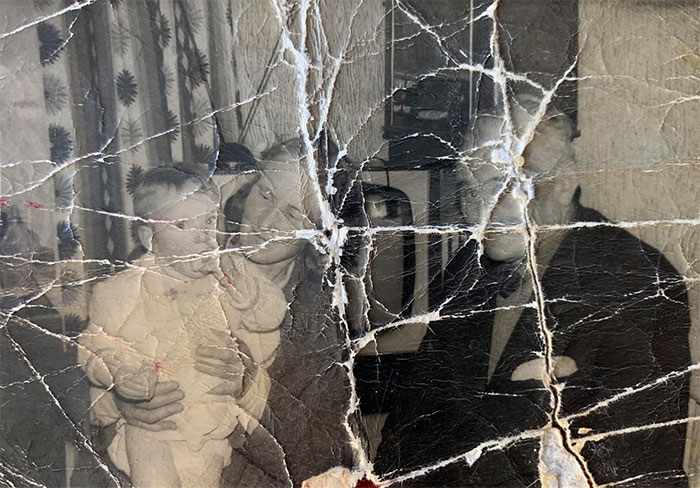
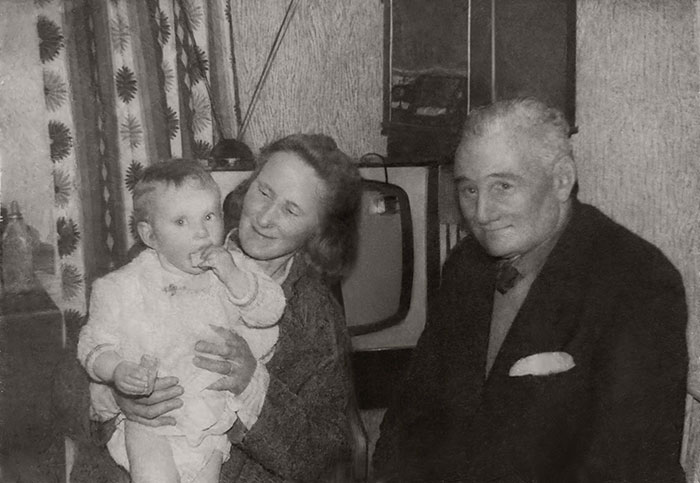
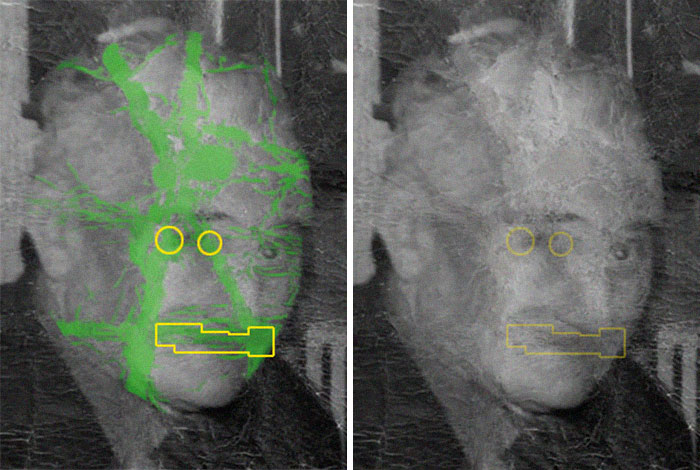
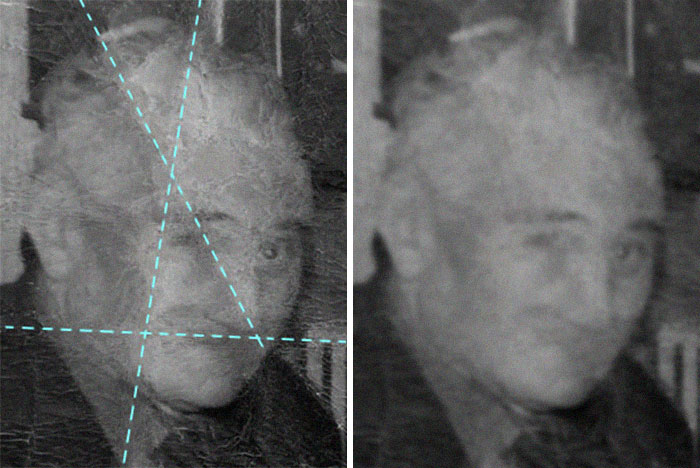
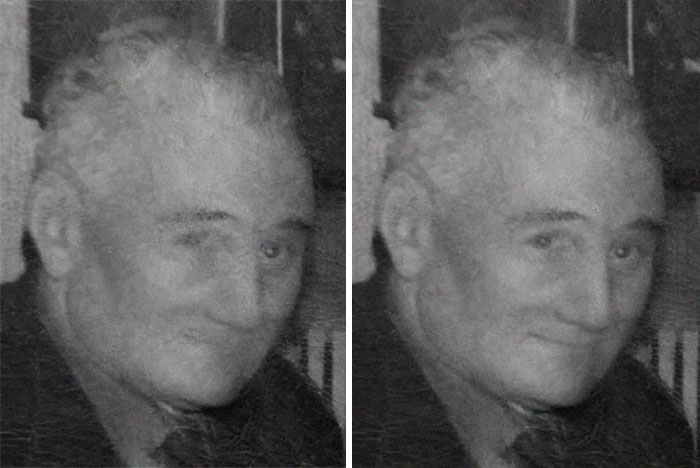
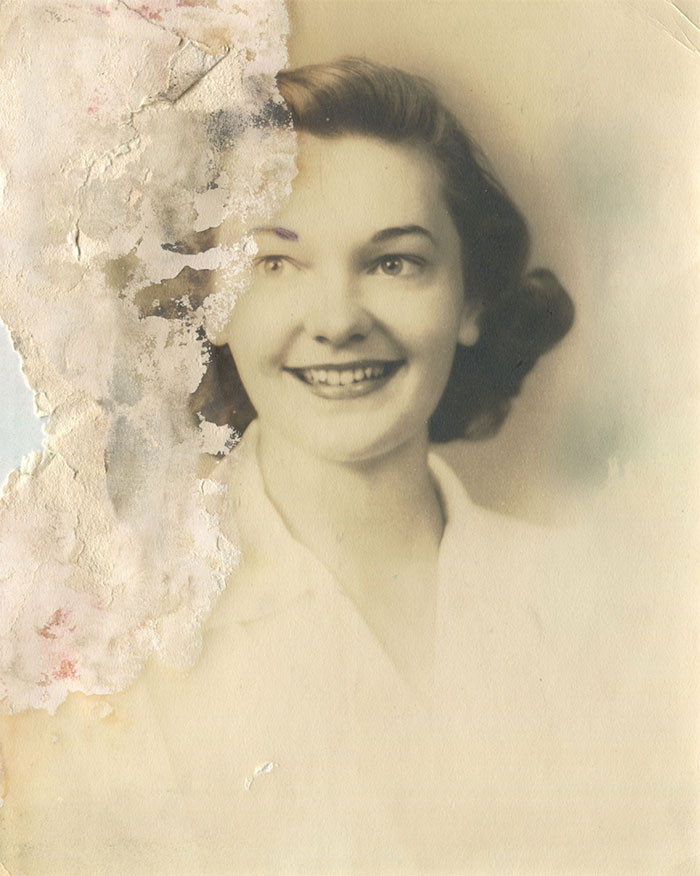
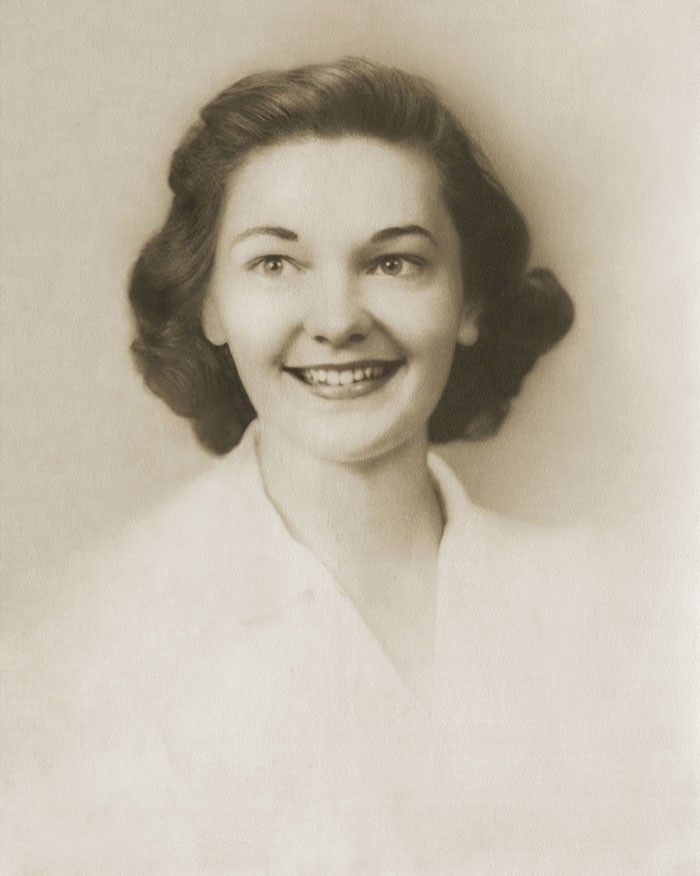
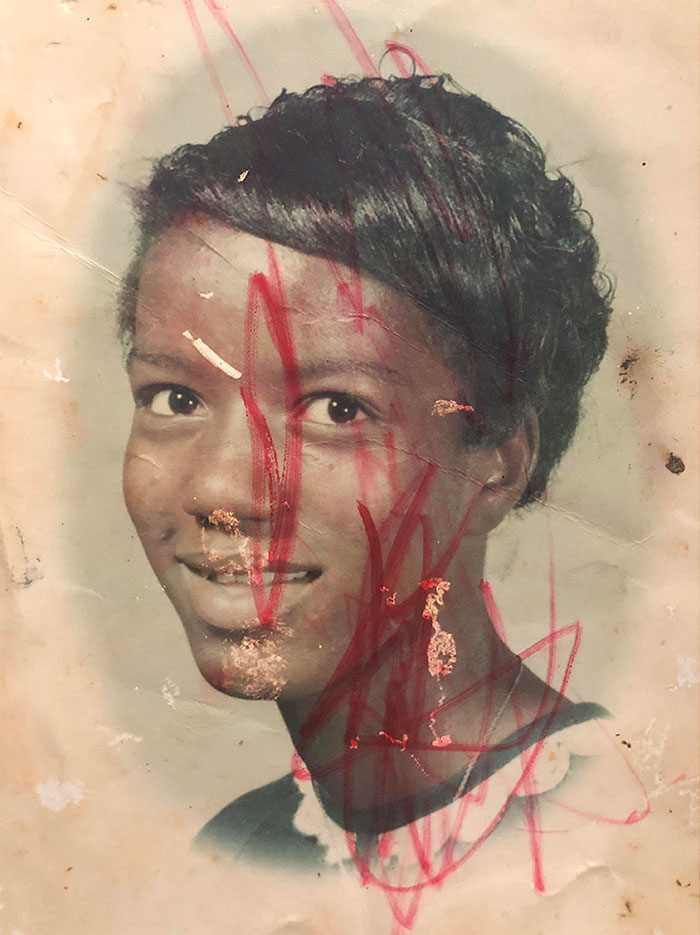
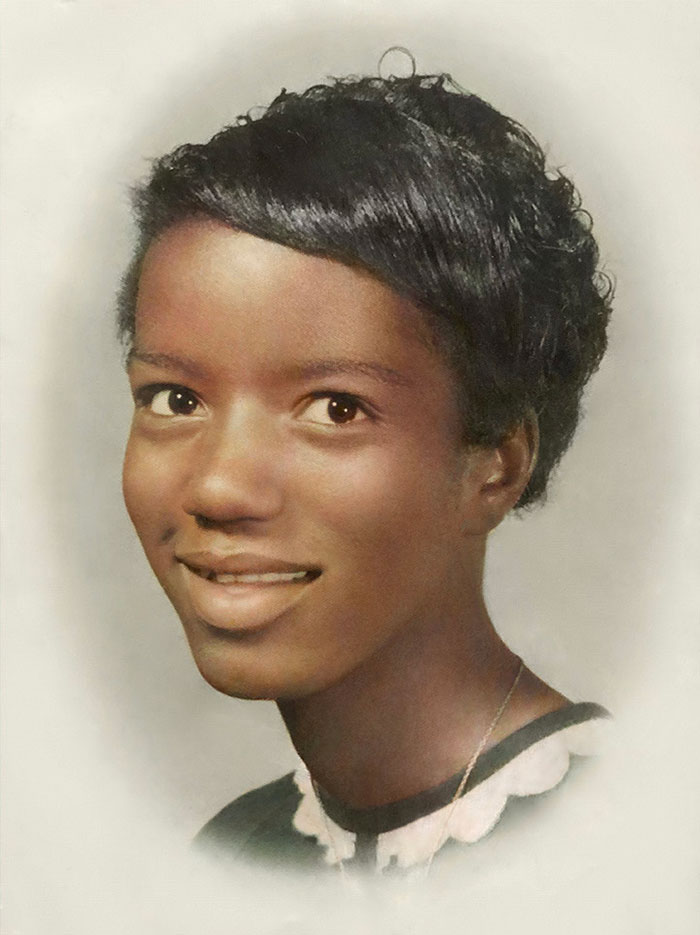
From 1980s family snapshots to 1880s family heirlooms, many of us have old photos in need of repair. Even images with significant creasing, pitting, discoloration and tears can be restored with just a few simple Photoshop tools. You don’t have to be a Photoshop expert to make massive repairs to damaged old photos. You just have to be patient. Here’s how.
Digitizing
If the photo is smaller than an 8.5×11-inch sheet of paper, you can easily scan it on a flatbed scanner. If it’s too brittle for that, however, or too large to fit in the scanner, consider photographing it in order to digitize it. This has not only the benefit of accommodating much larger image sizes, but can be helpful with very delicate prints. That said, there’s nothing better for a curled vintage photo than being neatly pressed to the glass of a flatbed scanner.
To shoot a big print, hang it on the wall or lay it on a copy stand and place two light sources—such as bare-bulb strobes—beyond a 45-degree angle from the camera position and as comfortably far from the print as possible (such as 5 or 10 feet away if there’s sufficient room to do so). This has the dual effect of preventing strange shadows and detail-obliterating reflections, as well as keeping the light even by positioning the lights far from the print. For maximum color accuracy, photograph a neutral gray card or color chart for use in the next stage.
In Lightroom
With the digital image of my antique print in hand, I import it to Lightroom in order to make the initial wholesale adjustments to things such as sharpness, contrast, color and so on. This stage is the perfect time to consider one of the biggest decisions you’ll have when restoring an old photo, which is how to handle the color. The black-and-white image in the example here has a strong brown cast. This sepia tone can be attractive and certainly appropriate for a hundred-year-old image, but I still think it needs some help. Bear in mind that ultimately how you handle the color of the image is entirely up to you. If you want it truly neutral, go for it. (To accomplish this, use the Lightroom Develop module’s eyedropper to click on an area of the image that should be white.) In my case, I just wanted to dial back the heavy age cast, so I used the White Balance slider to dial the color slightly toward neutral without eliminating what I consider to be a pleasant sepia tone.
If this was a 1970s-era color image, however, I might have treated this step differently. For full-color images that have faded or discolored over time, I think gaining color accuracy is very helpful. For this, I find the Auto White Balance feature can definitely get close, as does Photoshop CC’s auto levels (command+shift+L), which can be dialed back with the Fade control by holding command+shift+F.The other issue I like to address in Lightroom pertains to overall sharpness (slightly dialing up Clarity and Detail and dialing down Noise) and contrast. I certainly use the Contrast slider, but I also like to adjust shadows to bring out a bit of shadow detail without eliminating deep black tones and highlights to ensure some bright, almost-white areas of the frame without obliterating highlight detail. In that way, I can improve the overall color, contrast and sharpness of the image before it even gets to Photoshop. Once there, I like to focus solely on repairing damage, so try to get these overall effects taken care of before leaving Lightroom.
In Photoshop
Once my image is open in Photoshop, the real work begins. Mind you, it’s not that this step is difficult or requires extensive knowledge of Photoshop, it’s just that it takes the longest. Set aside at least an hour and likely a couple more in order to repair the damage bit by bit with the Clone Stamp (and a bit of the Spot Healing brush).
A straight-ahead use of the Clone Stamp—where you alt-click to set the point you’d like to copy from before clicking the area you’d like to heal—can largely accomplish most of the repairs seen here. Be sure to use the brush at 100% opacity because I find antique images tend to have lots of texture and patterns in extreme close-up, and this means any lower opacities on clone stamp will create a bit of a blur that will stand out against the general texture of the image. The best way to fight this is with brushes set to 100% opacity and slightly harder brush edges, as well, if necessary.
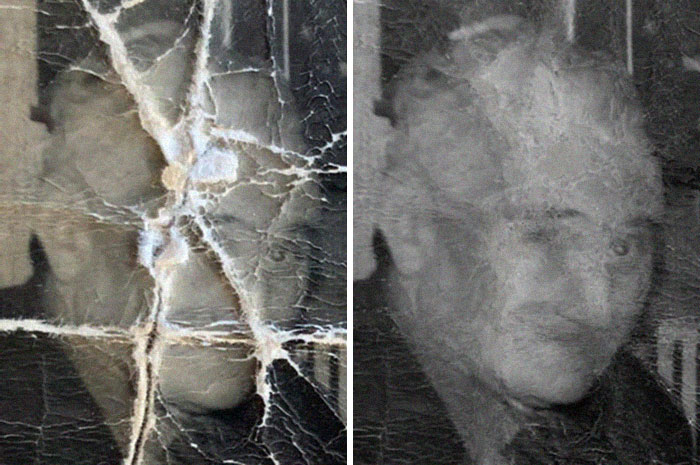
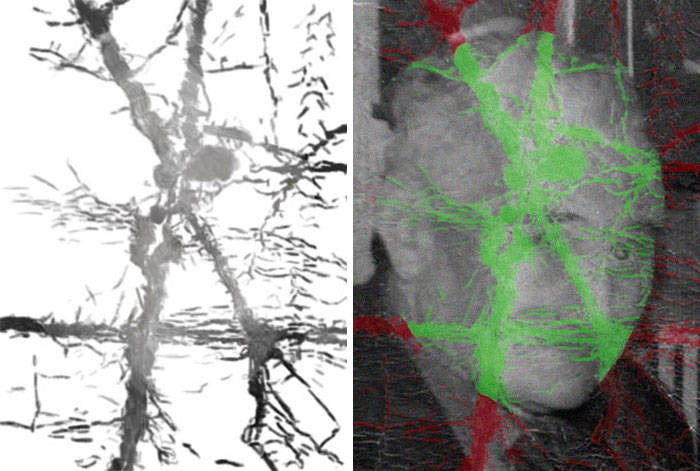
The clone stamp is the primary tool I use for repairing damaged photographs. Simply alt-click to set the area to clone from, then click to paint the area you’d like to clone to. Frankly, if you just use the clone stamp and take your time, you’ll do fine. Though if you’re feeling comfortable stepping it up a notch, consider using a high-end portrait retouching technique called Frequency Separation. It takes a bit to set it up the first time, but it can be recorded as a repeatable action making it quick to apply. For more information on Frequency Separation, check out our tip explaining it here: https://instagram.com/shop.shimunia?utm_source=ig_profile_share&igshid=12olsbikc1n35
The reason frequency separation works well for repairing damaged prints is the same reason it works so well on retouching skin—it allows the texture and detail to be separated from the color and tone. That means you can Clone Stamp away rips and folds on the high layer, then change to the low layer to address luminosity and color—all with the Clone Stamp.
Another tool you can add to your repertoire is the Spot Healing brush. Particularly for small wrinkles or spots, a single click with this brush can seem to magically repair issues. I find a Spot Healing brush set to Proximity Match tends to do very well in restoration settings.
Whether you use these tools alone or along with Frequency Separation, one of the biggest mistakes people make when retouching images like this is they don’t zoom in close enough. There’s no magic formula, but be sure you can see the details large on your screen and easily differentiate between good image-forming detail and damaged elements. This is likely with the view set to at least 100%. If it’s not clear enough, zoom in more.
I take the approach of starting with the largest elements in a quadrant and then moving methodically through the image and repairing what catches my eye. There are so many tiny dust spots and particles, you have to learn what to let go and what to fix. That’s the biggest challenge at this point. I periodically zoom out to see what’s catching my eye at the macro level, and if it’s damage and it grabs my attention, I fix it. If it’s just general foxing or light textural damage, I tend to leave it. In the image here, for instance, there’s some of this texture remaining on the bottom right of the image even in the final version. Eliminating this texture effectively would create too much blur, and that would look more artificial than a little bit of aging texture—particularly if it doesn’t interfere with the most important areas of the frame.
Speaking of which, the bottom line is to spend most of your time repairing faces and other areas that garner the most attention. Pay closer attention when working on faces, in particular, using the same techniques you might use when retouching a portrait you photographed yesterday. For me, this means ensuring no dust or scratches interfere with your subject’s face (or their body/clothing, for that matter) simply by taking a closer view and eliminating a few more of the finer spots and particles.
In the end, you don’t have to make the image perfect—you just need to eliminate the largest of the issues to let the original subject take center stage once again.

